Over the past five years we've tried various tools to wireframe App screens and workflow with varying success. This has ranged from off the shelf online tools to designing Photoshop frameworks ourselves. What we've found in this time is that software was either too simple (and not flexible enough) or too complex (took too long to use). We'd just about given up looking until we came across some software called WireframeSketcher. This software fits the bill perfectly for putting together App screens (and website pages too) very very quickly. This can then get across to a client the functionality of an App without days of specialist graphic design work that would often then have to be changed or reworked. Using this software you can sketch out the framework and all screens of an averagely sized App in an hour or so which is fantastic.
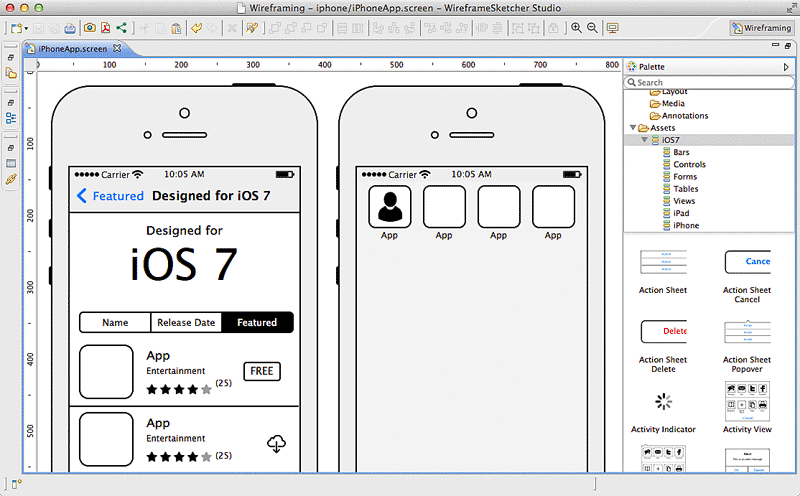
So how does it work? When you first create a project you say which type of project it is. This can be mobile or web and there are even some examples to get you started. If you're creating a mobile wireframe then you can choose iOS, Android, or Windows Phone so nobody should feel left out. Whichever you choose you have a full set of standard drag and drop components you can use (e.g. containers, image placeholders, maps etc). You also have a full set of platform specific components so an Android App will have the correct default keyboard, dialog boxes, buttons etc. Building your screens is just a case of using these components and resizing them accordingly and adjusting text etc to suit your App. One thing we've found to be the biggest challenge with putting wireframes together with other software is tabbars. Not with WireframeSketcher! You can very quickly create and adjust a tabbar including text and custom icons with just a few clicks. Once you've got one of your screens built then you'll most likely want to build the other screens of your App based on this (so you don't have to redraw tabbars etc). You can clone existing screens to create a new one and then just modify that to suit. This is especially useful if you're showing screens with slight difference such as one with a dialog box and one without. Once you've got all your screens built then WireframSketcher allows you to export these out as PDF or images. We tend to print these out at A4 to discuss with clients and also use the images within documents to put together workflow and App Map documents.
If you're looking for a wireframing tool yourself then I'd highly recommend you take a look at WireframeSketcher. They even have a free trial too so you've nothing to lose. http://wireframesketcher.com
No comments:
Post a Comment